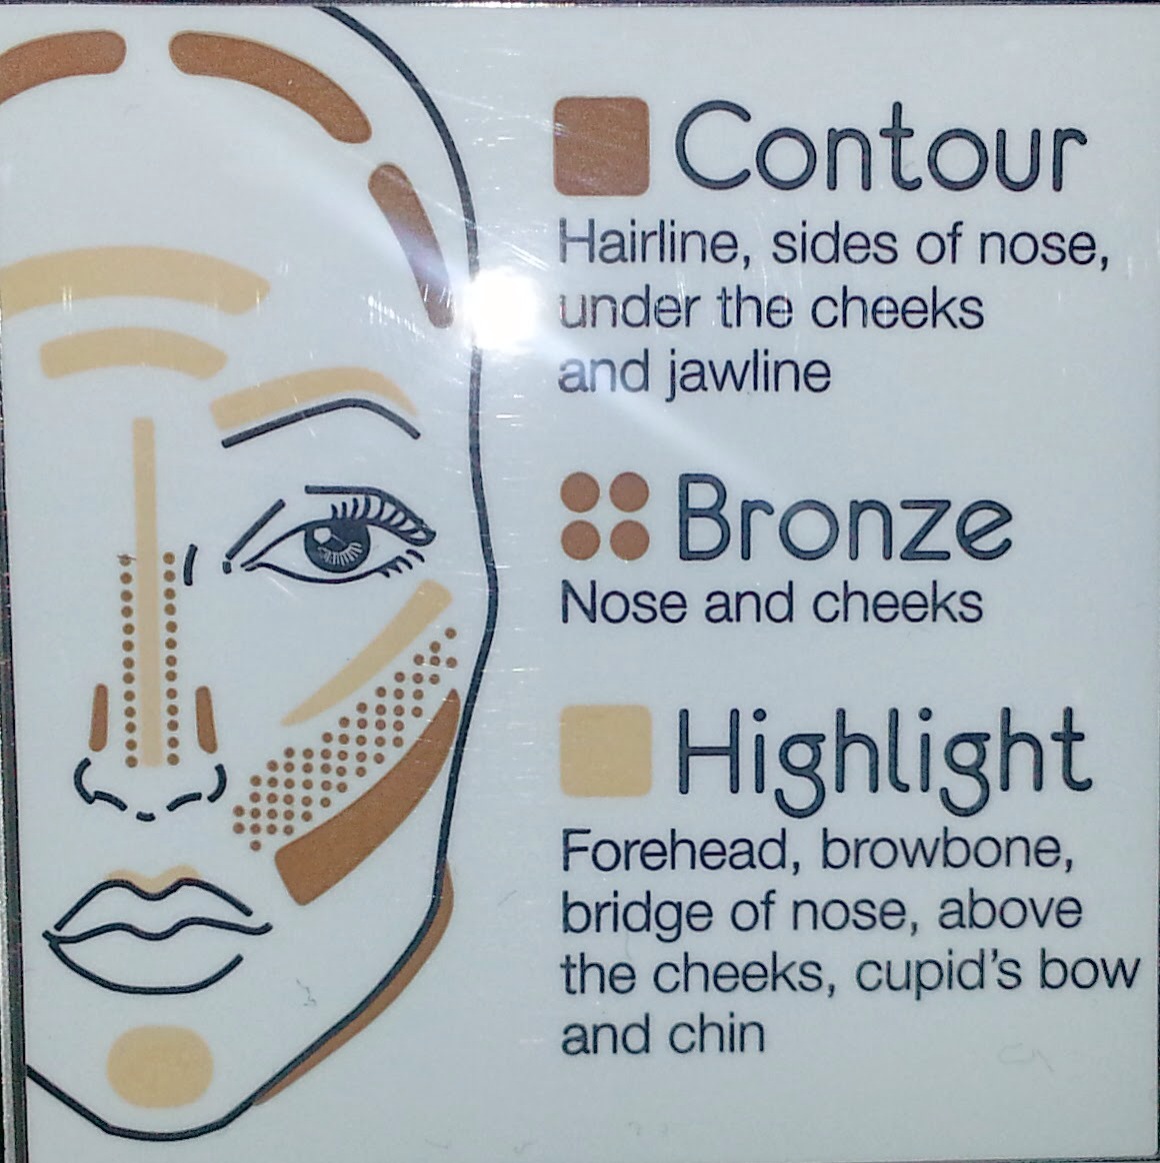
So there are so many ways to highlight and contour. You can use powders, creams (foundation/concealer), illuminators etc. etc. one thing that does remain the same is color placement. This may vary depending on face shape, however the diagram below will give you a general idea of where your color placement should be.
For this particular look I’ve used the Motives Maven Sculpting Kit in “ICE”. I’ve posted about this palette in a previous post, but in this post I will show you how I’ve applied it.
I start with a cleansed face, moisturizer, then primer. I apply my foundation prior to contour and highlight. In this posting, my foundation is Makeup Forever HD.
Next, I apply the lightest of the colors in the “ICE” series on all of the areas that I am looking to have the light catch. Then I used the second to darkest color on the palette to recede any areas. You can control the intensity of your highlight and contour by adding more product. You can also choose to use the darker color in the palette for a more intense contour, however if your new to this, I would start off with the lighter of the 2 darker shades as you will have more control with blending.


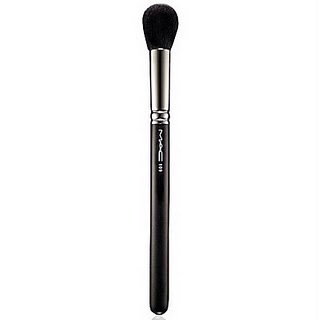
Now that you have applied your highlight and contour, you need a brush to buff/blend out the color. Just as you would blend out eyeshadow with a fluffy domed shaped brush, similar concept would work for buffing out your contour highlight. For this look, I’ve used MACs 109 brush. This brush works well for cream contours or powder.


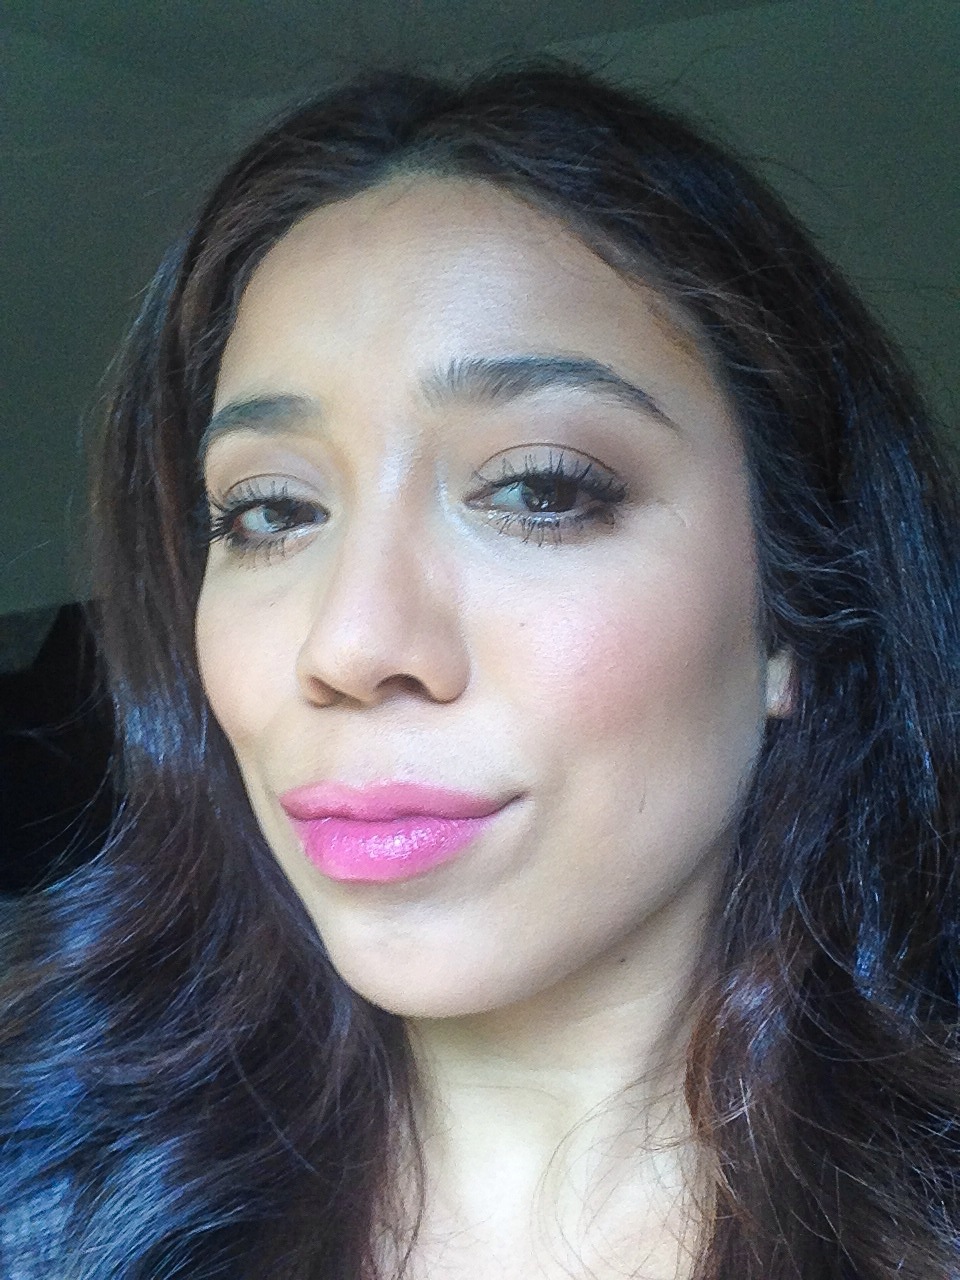
Once you have blended out your contour and highlight, you can add some color to your face. I prefer a blush with a pinky tone to bring out a natural flush on the cheek. Also, at this point I have finished my eyes with the Motives Mavens Element Palette and two coats of mascara.
I will do a future posting on how to work with the Motives Mavens Element Palette.
Here is the finished look.
What you need: